These are the instructions to mount your new Yamaha Banshee DC conversion battery/rectifier mount. Please note that prior to installing this mount your stator must have a floated ground. This conversion mount will not operate properly with out the ground modification on the stator.
Locate your stock regulator that is under the seat at the rear of the bike and unplug it from the wire harness. You can either leave it mounted up underneath your bike or you can unbolt it as you will not need it. Tuck the unused blue wire on your harness up out of the way.
The new conversion battery mount comes with the battery wires unplugged, keep them unplugged until the installation is complete.
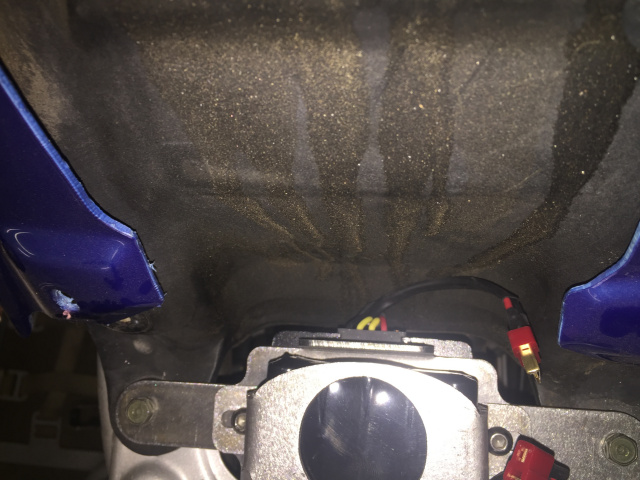
Bolt your new battery conversion mount to the two bolts under the seat that mount your gas tank. The stock bolts should work just fine.
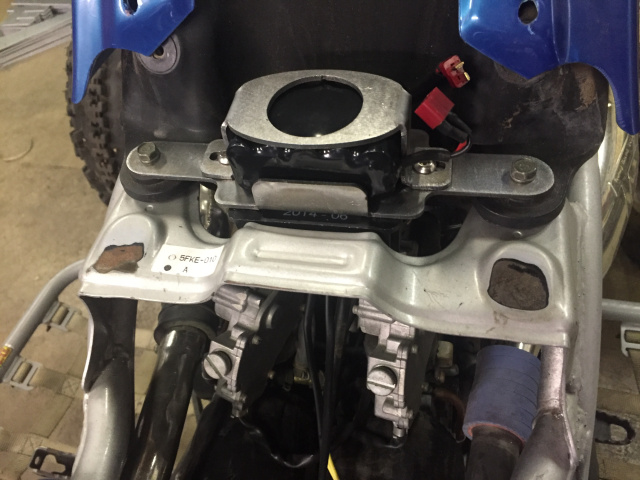
Make sure to mount the battery mount so the wires are running down the backside closest to the tank.
Locate where your stater wires plug into your stock harness.
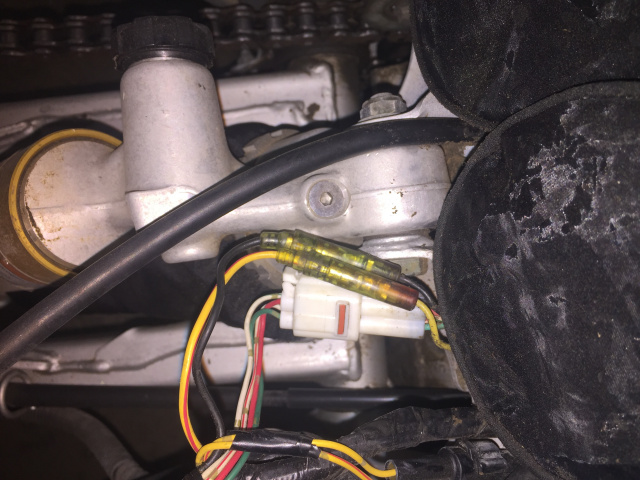
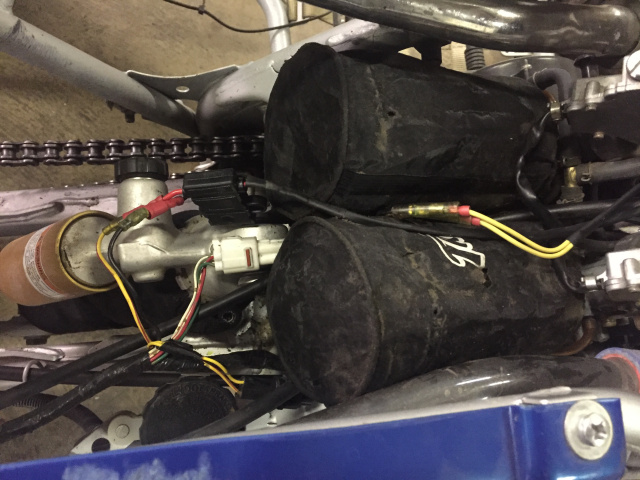
Unplug the lighting circuit wires from your stater to your harness. The circuit wires from the stater will be a yellow and a black wire. Sometimes it's a yellow with a red stripe and a black wire.
Take the black and yellow wires from the stater and plug them into the two yellow wires coming from your new battery mount. It does not matter which wire goes where, you just need to plug the yellow and the black into the two yellows.
Take the yellow and the black wire from your stock harness and plug them into the red and black wire coming from your new battery mount. Make sure the black wire from your harness is plugged into the black on the battery mount as also the yellow from your stock harness will plug into the red wire from your battery amount.
Tuck the wires away in a secure locations. Once you have done that, plug your battery wires together at the battery mount. Test the system by turning on your stock light switch on to make sure your lights work.